MNSI:Quick Start
This guide will detail the simplest form of operation. Adding a single MNSI component to a blueprint actor.
The How
It is recommended that the first time, this guide be followed using one of the example meshes supplied. That way all external parameters that could cause headaches will be removed while still learning the workings of this plugin.
Adjusting the parameters
The default plugin settings will not apply for every prop. The most important factor being your prop's physical mass. Really light weight props need settings different than really heavy props.
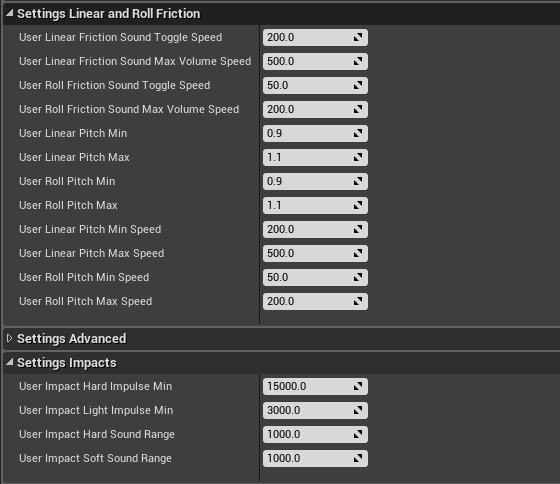
The settings you care about are as imaged.
Outlined here is the best practice method for quickly finding the best values for your prop.
1. First let's adjust the Settings Impacts.
2. User "Impact Hard Velocity Min" and "Impact Light Velocity Min" are Triggers that define the minimum impulse a prop needs to experience to play either a hard impact or soft impact. The Impulse scales non-linearly with mass. "User Impact Hard Sound Range" and "User Impact Soft Sound Range." Are Ranges that define a sound volume range added to their respective Triggers . So if you set a your hard impact trigger to 1000, and a Range of 0, then as soon as the prop exceeds 1000 impulse force, it will play the sound at full volume. Setting a Range of +2000 means that the hard impact sound will play at zero volume at 1000 force, and maximum volume at 3000 impulse force. ////This is confusing revise////
////Temp Layout , Do Beauty Pass////
